Windows Hosts 檔案設定教學|Localhost 自訂網域名稱
引言:讓 Localhost 也有專業網址
開發網站時,你可能厭倦了一直輸入 localhost:3000。
有沒有辦法用像 mysite.local 或 dev.myproject.com 這樣的網址來連線?
答案是:可以!只要編輯 hosts 檔案。
這篇文章會教你如何設定 hosts 檔案,讓本機開發也能用好看的網址。

要點一-Hosts 檔案是什麼?
你電腦裡的 DNS
當你輸入網址(如 google.com),電腦需要知道對應的 IP 位址。
正常流程是:
輸入網址 → 查詢 DNS 伺服器 → 取得 IP → 連線
但 hosts 檔案可以跳過 DNS 查詢,直接告訴電腦「這個網址對應這個 IP」:
輸入網址 → 查詢 hosts 檔案 → 取得 IP → 連線
Hosts 檔案的用途
1. 本機開發使用自訂網域
mysite.local → 127.0.0.1 (localhost)
2. 測試正式網域
yourdomain.com → 127.0.0.1
先在本機測試,確認沒問題再正式上線。
3. 封鎖特定網站
0.0.0.0 facebook.com
讓特定網站無法連線(提升專注力工具常用這招)。
查詢優先順序
電腦查詢網址的順序:
- hosts 檔案(最優先)
- DNS 快取
- DNS 伺服器
所以 hosts 檔案的設定會優先於實際的 DNS 記錄。
要點二-Windows Hosts 檔案位置
檔案路徑
Windows 的 hosts 檔案位於:
C:\Windows\System32\drivers\etc\hosts
如何前往
方法一:直接貼上路徑
- 按
Win + R開啟「執行」 - 貼上
C:\Windows\System32\drivers\etc - 找到
hosts檔案
方法二:使用檔案總管
本機 → Windows (C:) → Windows → System32 → drivers → etc → hosts
檔案說明
hosts 檔案沒有副檔名,它就叫做 hosts。
如果看到 hosts.txt,那可能是你誤加了副檔名。
要點三-如何編輯 Hosts 檔案
需要管理員權限
hosts 檔案是系統檔案,需要管理員權限才能編輯。
方法一:以系統管理員身分開啟記事本
- 在開始功能表搜尋「記事本」
- 右鍵 → 以系統管理員身分執行
- 檔案 → 開啟
- 瀏覽到
C:\Windows\System32\drivers\etc\ - 右下角選擇「所有檔案 (.)」
- 選擇
hosts→ 開啟
方法二:使用 VS Code
# 以管理員身分執行 PowerShell
code C:\Windows\System32\drivers\etc\hosts
或在 VS Code 內開啟檔案,儲存時會要求管理員權限。
方法三:使用 PowerShell
# 以管理員身分執行
notepad C:\Windows\System32\drivers\etc\hosts
預設 hosts 內容
打開後會看到類似這樣的內容:
# Copyright (c) 1993-2009 Microsoft Corp.
#
# This is a sample HOSTS file used by Microsoft TCP/IP for Windows.
#
# This file contains the mappings of IP addresses to host names.

# localhost name resolution is handled within DNS itself.
# 127.0.0.1       localhost
# ::1             localhost
# 開頭的是註解,不會生效。
要點四-設定範例:mysite.local 指向 localhost
基本語法
IP位址 網域名稱
用空格或 Tab 分隔 IP 和網域。
設定 mysite.local
在 hosts 檔案最下方新增:
127.0.0.1 mysite.local
儲存後,打開瀏覽器輸入 mysite.local 就會連到 localhost。
加上 www
127.0.0.1    mysite.local
127.0.0.1    www.mysite.local
多個專案設定
127.0.0.1    project-a.local
127.0.0.1    project-b.local
127.0.0.1    api.local
指定特定 Port
hosts 檔案只能對應 IP,不能指定 port。
如果你的程式跑在 localhost:3000,設定了 mysite.local 後:
mysite.local → 連到 127.0.0.1:80 (預設 port)
mysite.local:3000 → 連到 127.0.0.1:3000 ✅
如果要讓 mysite.local 直接連到 3000 port,需要:
- 把程式改跑在 port 80
- 或使用 Nginx 做反向代理
完整範例
# Localhost 設定
127.0.0.1    localhost
::1          localhost

# 專案一:前端
127.0.0.1    frontend.local

# 專案二:後端 API
127.0.0.1    api.local

# 專案三:管理後台
127.0.0.1    admin.local
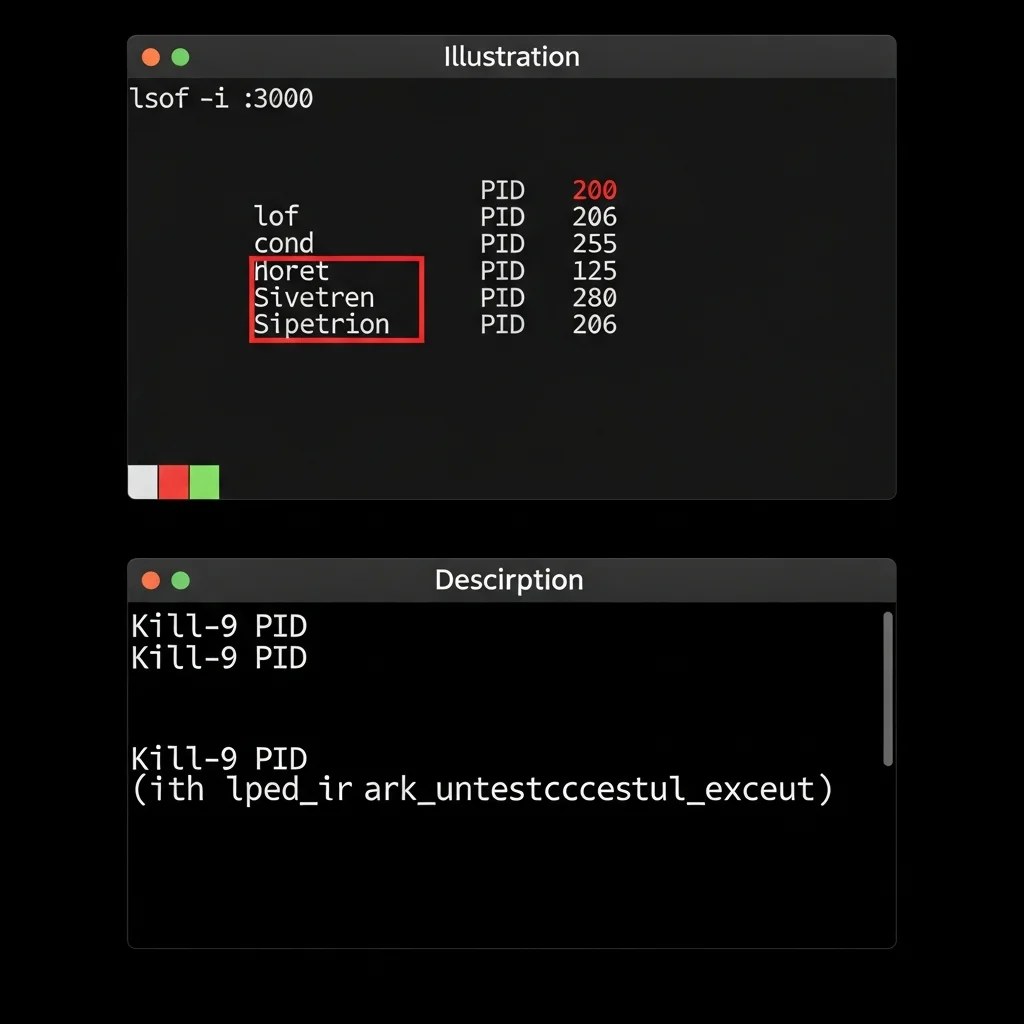
要點五-立即生效:清除 DNS 快取
修改 hosts 檔案後,可能需要清除 DNS 快取才會生效。
Windows 清除 DNS 快取
# 以管理員身分執行
ipconfig /flushdns
成功會看到:
Windows IP 設定

已順利清除 DNS 解析程式快取。
確認設定生效
ping mysite.local
應該會看到:
Ping mysite.local [127.0.0.1] (使用 32 位元組的資料):
如果顯示的是 127.0.0.1,就代表設定成功。
瀏覽器快取
如果 ping 正常但瀏覽器還是不行,試試:
- 清除瀏覽器快取
- 使用無痕模式
- 換個瀏覽器試試
要點六-Mac / Linux Hosts 檔案設定
Mac 檔案位置
/etc/hosts
Mac 編輯方法
# 使用 nano 編輯器
sudo nano /etc/hosts

# 或使用 vim
sudo vim /etc/hosts

# 或使用 VS Code
sudo code /etc/hosts
Mac 清除 DNS 快取
sudo dscacheutil -flushcache; sudo killall -HUP mDNSResponder
Linux 檔案位置
/etc/hosts
Linux 編輯方法
# 使用 nano
sudo nano /etc/hosts

# 或使用 vim
sudo vim /etc/hosts
Linux 清除 DNS 快取
# Ubuntu/Debian
sudo systemd-resolve --flush-caches

# 或
sudo resolvectl flush-caches
語法相同
不管是 Windows、Mac 還是 Linux,hosts 檔案的語法都相同:
127.0.0.1    mysite.local
127.0.0.1    api.local
要點七-常見問題排解
問題一:存檔時出現權限錯誤
Windows:
您沒有權限儲存到這個位置
解決:以系統管理員身分執行記事本或編輯器。
問題二:修改後沒有生效
可能原因:
- DNS 快取還沒清除
- 瀏覽器快取
- 語法錯誤
解決步驟:
# 1. 清除 DNS 快取
ipconfig /flushdns

# 2. 確認設定
ping mysite.local

# 3. 清除瀏覽器快取或使用無痕模式
問題三:設定後連不到網站
可能原因:本機程式沒有在跑
確認方法:
# 先確認 localhost 可以連
curl http://localhost:3000

# 再測試自訂網域
curl http://mysite.local:3000
問題四:hosts 檔案被鎖定
可能原因:防毒軟體鎖定了 hosts 檔案
解決:暫時關閉防毒軟體的 hosts 保護功能,或將編輯器加入白名單。
問題五:找不到 hosts 檔案
確認步驟:
- 開啟檔案總管
- 顯示隱藏檔案(檢視 → 顯示 → 隱藏的項目)
- 前往
C:\Windows\System32\drivers\etc\
💡 hosts 設定遇到問題? 可以聯繫我們讓工程師幫你處理。
要點八-進階應用:多個本機專案
情境:多專案開發
同時開發多個專案,每個都跑在不同 port:
- 專案 A:
localhost:3000 - 專案 B:
localhost:3001 - API:
localhost:8000
hosts 設定
127.0.0.1    project-a.local
127.0.0.1    project-b.local
127.0.0.1    api.local
搭配 Nginx 反向代理
如果想要不用加 port 就能連線,可以用 Nginx:
# nginx.conf

server {
    listen 80;
    server_name project-a.local;

    location / {
        proxy_pass http://localhost:3000;
    }
}

server {
    listen 80;
    server_name project-b.local;

    location / {
        proxy_pass http://localhost:3001;
    }
}

server {
    listen 80;
    server_name api.local;

    location / {
        proxy_pass http://localhost:8000;
    }
}
這樣就可以:
project-a.local → localhost:3000
project-b.local → localhost:3001
api.local → localhost:8000
使用 .local 域名的好處
- 不會和真實網域衝突
- 一眼就知道是本機專案
- 瀏覽器不會嘗試 HTTPS
常用的本機域名後綴:
- .local
- .dev(但可能有 HSTS 問題)
- .test
- .localhost
程式只能在本機跑?
讓我們幫你從 localhost 走向全世界,把專案部署到雲端。
常見問題 FAQ
Q1:修改 hosts 檔案需要重開機嗎?
通常不需要。只要清除 DNS 快取(ipconfig /flushdns)就會生效。如果還是沒生效,可以嘗試重啟瀏覽器。
Q2:hosts 檔案可以指定 port 嗎?
不行。hosts 檔案只能對應 IP 位址,無法指定 port。如果需要自訂網域連到特定 port,需要使用 Nginx 等反向代理工具。
Q3:修改 hosts 會影響其他人嗎?
不會。hosts 檔案只在你的電腦上生效,不會影響其他電腦或網際網路上的其他使用者。
Q4:如何還原 hosts 檔案?
刪除你新增的行,或恢復到預設內容。Windows 預設的 hosts 檔案只有註解,沒有實際的對應設定。如果不確定,可以把所有自訂行刪除,只保留 # 開頭的註解。
延伸閱讀
- Localhost 是什麼?127.0.0.1 完整指南
- Localhost 本機開發 HTTPS 憑證設定教學
- Localhost IP 設定教學|讓區網裝置連到你的電腦
- 如何讓 Localhost 上線?5 種方法總覽
程式只能在本機跑?
讓我們幫你從 localhost 走向全世界,把專案部署到雲端。
圖片描述
插圖 1:Hosts 檔案概念圖
- 檔名 slug: hosts-file-concept
- 圖片類型: 概念示意圖
- 主要視覺元素:
- 左側:瀏覽器網址列輸入 mysite.local
- 中間:hosts 檔案圖示(記事本樣式)
- 右側:電腦圖示顯示 localhost
- 文字標註: "mysite.local"、"hosts 檔案"、"127.0.0.1"
- 色調與風格: 藍色調,簡潔科技風格
- 構圖建議: 水平三段式流程,箭頭顯示轉換過程
插圖 2:Windows 以管理員身分開啟記事本
- 檔名 slug: windows-notepad-admin
- 圖片類型: 操作截圖示意
- 主要視覺元素:
- 開始功能表搜尋「記事本」
- 右鍵選單展開
- 標示「以系統管理員身分執行」
- 文字標註: "記事本"、"以系統管理員身分執行"
- 色調與風格: Windows 11 風格介面
- 構圖建議: 完整的操作流程截圖,用紅框標示重點
插圖 3:多專案 hosts 設定示意
- 檔名 slug: hosts-multi-project
- 圖片類型: 架構示意圖
- 主要視覺元素:
- 左側:多個網址列表
- 中間:hosts 檔案
- 右側:電腦上多個服務(不同 port)
- 文字標註: 各專案網址和對應 port
- 色調與風格: 技術架構圖風格,使用連線表示對應關係
- 構圖建議: 一對多的對應結構,清晰顯示路由關係
插圖 4:DNS 快取清除指令
- 檔名 slug: dns-flush-command
- 圖片類型: 終端機截圖示意
- 主要視覺元素:
- PowerShell 或命令提示字元畫面
- ipconfig /flushdns 指令
- 成功訊息輸出
- 文字標註: 指令和成功訊息
- 色調與風格: 深色終端機主題
- 構圖建議: 簡潔的終端機畫面,標示重點指令