GitHub Deploy Key 設定教學:安全部署你的私有專案
當你需要在伺服器上自動拉取私有 Repository 的程式碼時,最安全的方式就是使用 Deploy Key。相比直接使用個人 SSH Key,Deploy Key 只能存取單一 Repository,即使洩漏也能將風險降到最低。
這篇教學將帶你從零開始設定 GitHub Deploy Key,包含金鑰產生、GitHub 設定、伺服器配置,以及在 CI/CD 中的進階用法。
如果你想了解更完整的部署策略,可以先閱讀 程式部署完整指南。
為什麼需要 Deploy Key
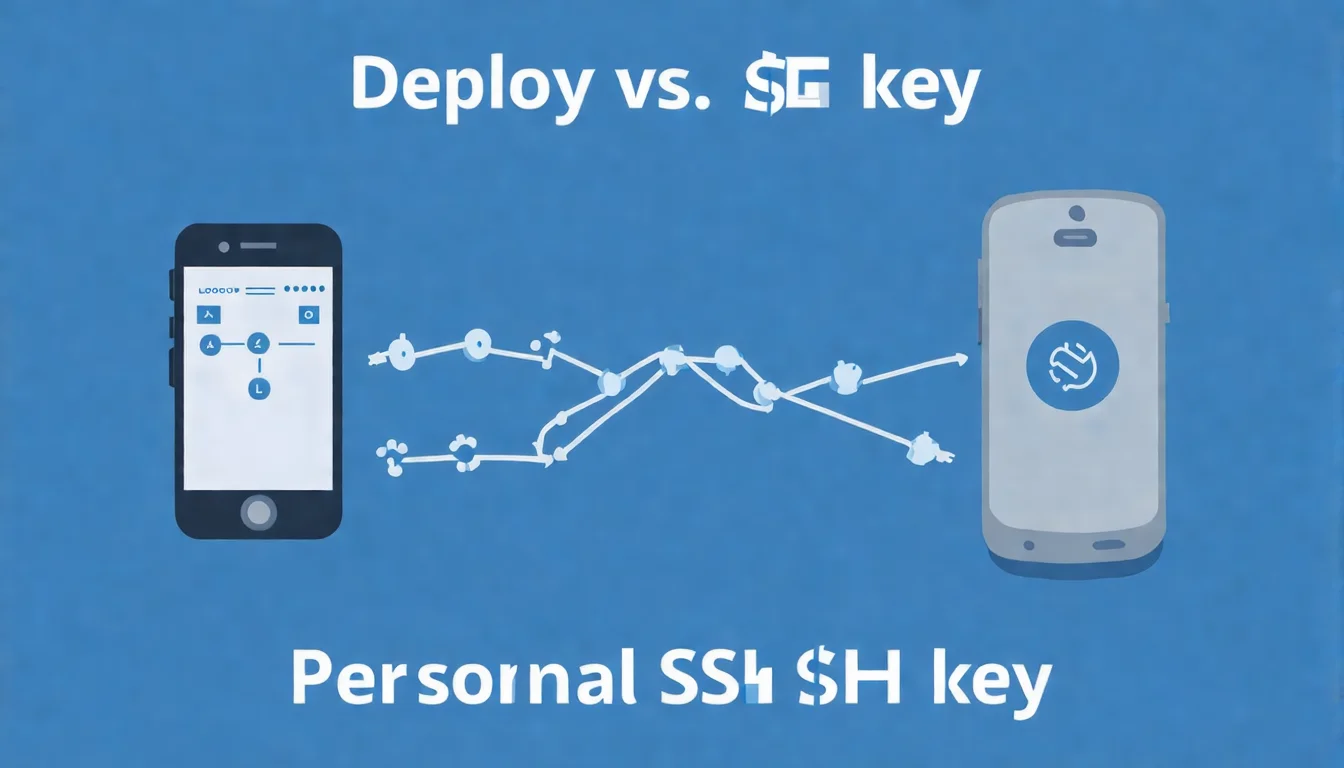
插圖:Deploy Key vs Personal SSH Key 比較圖
場景描述:
Technical illustration showing Deploy Key vs Personal SSH Key 比較圖. Clean, professional diagram style.
視覺重點:
- Clear presentation of the concept
- Professional technical diagram style
- Easy to understand visual elements
必須出現的元素:
- Relevant technical components
- Clear labels and annotations
- Logical flow or structure
需要顯示的中文字:
無
風格:
Clean flat design, technical illustration, modern infographic style
顏色調性:
Professional blues and grays, with accent colors for emphasis
避免元素:
Cluttered design, realistic photos, complex 3D rendering
在伺服器上存取私有 Repository 有幾種方式,讓我們來比較它們的安全性。
存取私有 Repo 的方式比較
| 方式 | 安全性 | 適用場景 |
|---|---|---|
| Personal SSH Key | ⭐⭐ | 不建議用於伺服器 |
| Deploy Key | ⭐⭐⭐⭐ | 單一 Repo 部署(推薦) |
| GitHub App | ⭐⭐⭐⭐⭐ | 多 Repo、組織管理 |
| Personal Access Token | ⭐⭐⭐ | 臨時使用、HTTPS clone |
Personal SSH Key 的風險
如果你把個人 SSH Key 放到伺服器上:
- 該 Key 可以存取你所有的 GitHub Repository
- 如果伺服器被入侵,攻擊者可以存取你的所有專案
- 可能包括其他公司、客戶的私有專案
Deploy Key 的優勢
Deploy Key 的設計原則是「最小權限」:
- 單一 Repo:一個 Deploy Key 只能存取一個 Repository
- 權限可控:可以設定為 Read-only(只能拉取,不能推送)
- 易於管理:可以隨時撤銷,不影響其他專案
- 無關聯個人帳號:不依附於任何使用者帳號
Deploy Key 運作原理
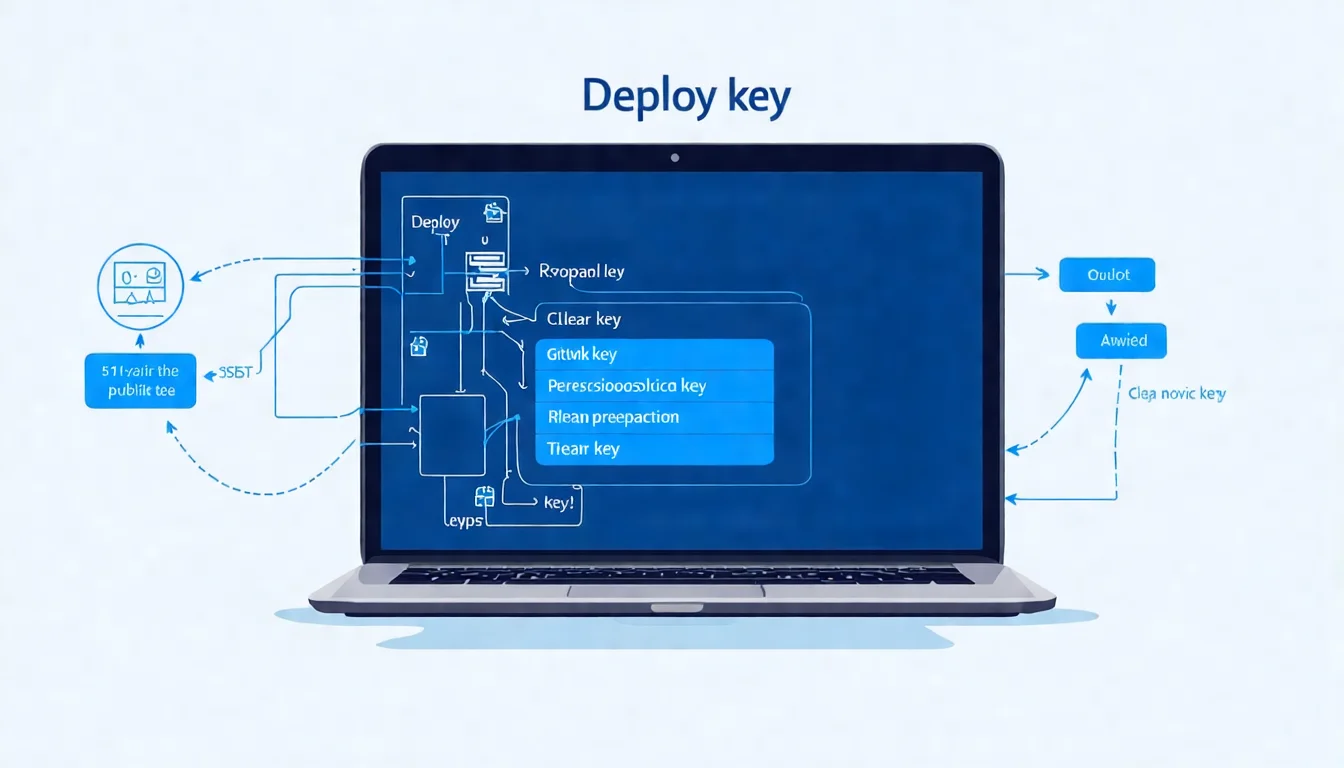
插圖:Deploy Key 部署流程圖
場景描述:
Technical illustration showing Deploy Key 部署流程圖. Clean, professional diagram style.
視覺重點:
- Clear presentation of the concept
- Professional technical diagram style
- Easy to understand visual elements
必須出現的元素:
- Relevant technical components
- Clear labels and annotations
- Logical flow or structure
需要顯示的中文字:
無
風格:
Clean flat design, technical illustration, modern infographic style
顏色調性:
Professional blues and grays, with accent colors for emphasis
避免元素:
Cluttered design, realistic photos, complex 3D rendering
Deploy Key 使用 SSH Key Pair(公私鑰配對)進行認證:
- 私鑰(Private Key):存放在伺服器上,用於證明身份
- 公鑰(Public Key):加到 GitHub Repository 設定,用於驗證
當伺服器嘗試存取 Repository 時:
1. 伺服器使用私鑰簽署認證請求
2. GitHub 使用公鑰驗證簽章
3. 驗證通過,允許存取
這個過程中,私鑰永遠不會離開伺服器,非常安全。
步驟一:產生 SSH Key Pair
插圖:ssh-keygen 金鑰產生過程圖
場景描述:
Technical illustration showing ssh-keygen 金鑰產生過程圖. Clean, professional diagram style.
視覺重點:
- Clear presentation of the concept
- Professional technical diagram style
- Easy to understand visual elements
必須出現的元素:
- Relevant technical components
- Clear labels and annotations
- Logical flow or structure
需要顯示的中文字:
無
風格:
Clean flat design, technical illustration, modern infographic style
顏色調性:
Professional blues and grays, with accent colors for emphasis
避免元素:
Cluttered design, realistic photos, complex 3D rendering
在要部署的伺服器上產生專用的 SSH Key Pair。
使用 ssh-keygen 產生金鑰
# SSH 到你的伺服器
ssh user@your-server-ip

# 產生 Ed25519 金鑰(推薦)
ssh-keygen -t ed25519 -C "deploy-key-for-my-project" -f ~/.ssh/deploy_key_myproject

# 或使用 RSA 4096(相容性較好)
ssh-keygen -t rsa -b 4096 -C "deploy-key-for-my-project" -f ~/.ssh/deploy_key_myproject
參數說明:
| 參數 | 說明 |
|---|---|
-t ed25519 |
金鑰類型(Ed25519 較新較安全) |
-b 4096 |
金鑰長度(RSA 用) |
-C "comment" |
註解,方便識別 |
-f path |
指定檔案路徑 |
執行過程:
Generating public/private ed25519 key pair.
Enter passphrase (empty for no passphrase): [直接按 Enter]
Enter same passphrase again: [直接按 Enter]
Your identification has been saved in /home/user/.ssh/deploy_key_myproject
Your public key has been saved in /home/user/.ssh/deploy_key_myproject.pub
注意:自動化部署通常不設定 passphrase,否則每次使用都需要手動輸入。
查看產生的金鑰
# 查看私鑰檔案(不要分享這個!)
ls -la ~/.ssh/deploy_key_myproject

# 查看公鑰(這個要加到 GitHub)
cat ~/.ssh/deploy_key_myproject.pub
公鑰內容類似:
ssh-ed25519 AAAAC3NzaC1lZDI1NTE5AAAAIGxxxxxxxxxxxxxxxxxxxxxxxxxxxxxx deploy-key-for-my-project
💡 SSH Key 設定卡關?
金鑰產生、權限設定、SSH 配置這些細節容易出錯。
預約免費諮詢,讓我們幫你處理 SSH 設定。
步驟二:將公鑰加到 GitHub
插圖:GitHub Deploy Key 設定介面截圖
場景描述:
Technical illustration showing GitHub Deploy Key 設定介面截圖. Clean, professional diagram style.
視覺重點:
- Clear presentation of the concept
- Professional technical diagram style
- Easy to understand visual elements
必須出現的元素:
- Relevant technical components
- Clear labels and annotations
- Logical flow or structure
需要顯示的中文字:
無
風格:
Clean flat design, technical illustration, modern infographic style
顏色調性:
Professional blues and grays, with accent colors for emphasis
避免元素:
Cluttered design, realistic photos, complex 3D rendering
接下來,將公鑰加到你的 GitHub Repository。
設定步驟
- 前往 GitHub Repository
- 點擊 Settings(設定)
- 左側選單選擇 Deploy keys
- 點擊 Add deploy key
填寫資訊
| 欄位 | 填寫內容 |
|---|---|
| Title | 識別用名稱(如 Production Server) |
| Key | 貼上公鑰內容(.pub 檔案的內容) |
| Allow write access | 根據需求勾選 |
Read-only vs Write Access
| 權限 | 適用場景 |
|---|---|
| Read-only(預設) | 只需要 git pull 的部署伺服器 |
| Write access | 需要 git push 的 CI/CD 流程 |
安全建議:除非必要,否則使用 Read-only 權限。
常見錯誤
錯誤:Key is already in use
一個公鑰只能加到一個 Repository。如果你需要存取多個 Repo,有兩個選擇:
1. 為每個 Repo 產生不同的 Deploy Key
2. 使用 GitHub App(可以存取多個 Repo)
步驟三:設定伺服器 SSH Config
為了讓 Git 使用正確的金鑰,需要設定 SSH Config。
編輯 SSH Config
nano ~/.ssh/config
加入以下內容:
# GitHub Deploy Key for my-project
Host github-myproject
    HostName github.com
    User git
    IdentityFile ~/.ssh/deploy_key_myproject
    IdentitiesOnly yes
設定檔案權限
# SSH 目錄權限
chmod 700 ~/.ssh

# 私鑰權限(很重要!)
chmod 600 ~/.ssh/deploy_key_myproject

# Config 權限
chmod 600 ~/.ssh/config
測試連線
# 測試連線
ssh -T github-myproject

# 預期輸出:
# Hi username/repository! You've successfully authenticated, but GitHub does not provide shell access.
如果出現這個訊息,表示設定成功!
步驟四:使用 Deploy Key Clone/Pull
設定完成後,使用修改過的 Host 名稱來存取 Repository。
Clone Repository
# 原本的 clone 指令
git clone [email protected]:username/my-project.git

# 使用 Deploy Key 的 clone 指令
git clone git@github-myproject:username/my-project.git
注意 github.com 改成了 github-myproject(SSH Config 中設定的 Host)。
設定現有 Repository
如果已經 clone 了專案,修改 remote URL:
cd my-project

# 查看現有 remote
git remote -v

# 修改 remote URL
git remote set-url origin git@github-myproject:username/my-project.git

# 確認修改
git remote -v
測試拉取
git pull origin main
進階:在 GitHub Actions 中使用 Deploy Key
插圖:GitHub Actions 使用 Deploy Key 架構圖
場景描述:
Technical illustration showing GitHub Actions 使用 Deploy Key 架構圖. Clean, professional diagram style.
視覺重點:
- Clear presentation of the concept
- Professional technical diagram style
- Easy to understand visual elements
必須出現的元素:
- Relevant technical components
- Clear labels and annotations
- Logical flow or structure
需要顯示的中文字:
無
風格:
Clean flat design, technical illustration, modern infographic style
顏色調性:
Professional blues and grays, with accent colors for emphasis
避免元素:
Cluttered design, realistic photos, complex 3D rendering
當你需要在 GitHub Actions 中存取其他私有 Repository 時(例如:跨 Repo 部署),Deploy Key 是最佳選擇。
使用場景
- 從 Repo A 的 Actions 部署程式碼到 Repo B
- 存取私有的套件 Repository
- 跨組織的 Repository 存取
步驟一:產生新的 Deploy Key
# 在本地產生
ssh-keygen -t ed25519 -C "github-actions-deploy" -f ./actions_deploy_key
步驟二:設定目標 Repo
將 actions_deploy_key.pub(公鑰)加到目標 Repository 的 Deploy Keys。
如果需要推送,記得勾選 Allow write access。
步驟三:將私鑰加到 Secrets
- 前往來源 Repository(執行 Actions 的 Repo)
- Settings → Secrets and variables → Actions
- 點擊 New repository secret
- Name:
DEPLOY_KEY - Value: 貼上私鑰內容(
actions_deploy_key檔案,不是.pub)
步驟四:在 Workflow 中使用
# .github/workflows/deploy.yml
name: Deploy

on:
  push:
    branches: [main]

jobs:
  deploy:
    runs-on: ubuntu-latest
    steps:
      - name: Checkout source repository
        uses: actions/checkout@v4

      - name: Setup SSH
        uses: webfactory/[email protected]
        with:
          ssh-private-key: ${{ secrets.DEPLOY_KEY }}

      - name: Clone target repository
        run: |
          git clone [email protected]:username/target-repo.git target

      - name: Deploy
        run: |
          # 你的部署邏輯
          cp -r ./dist/* ./target/
          cd target
          git config user.name "GitHub Actions"
          git config user.email "[email protected]"
          git add .
          git commit -m "Deploy from source repo"
          git push
使用 ssh-agent Action
webfactory/ssh-agent 是處理 SSH Key 的標準 Action:
- uses: webfactory/[email protected]
  with:
    ssh-private-key: |
      ${{ secrets.DEPLOY_KEY_REPO_A }}
      ${{ secrets.DEPLOY_KEY_REPO_B }}
可以同時載入多個 Deploy Key,存取多個 Repository。
💡 CI/CD 整合太複雜?
GitHub Actions、Deploy Key、跨 Repo 部署,這些整合需要經驗。
預約免費諮詢,讓專家幫你規劃 CI/CD 流程。
自動化部署腳本範例
結合 Deploy Key 與 Shell Script,實現自動化部署:
deploy.sh
#!/bin/bash
set -e

# 設定變數
PROJECT_DIR="/var/www/my-project"
REPO_URL="git@github-myproject:username/my-project.git"
BRANCH="main"

echo "🚀 Starting deployment..."

# 進入專案目錄
cd $PROJECT_DIR

# 拉取最新程式碼
echo "📥 Pulling latest code..."
git fetch origin
git reset --hard origin/$BRANCH

# 安裝相依套件
echo "📦 Installing dependencies..."
npm ci --only=production

# 重啟服務
echo "🔄 Restarting service..."
pm2 reload my-app

echo "✅ Deployment completed!"
設定 Webhook 觸發
可以使用 GitHub Webhook 搭配簡單的 HTTP 服務來觸發部署:
// webhook-server.js
const express = require('express');
const { exec } = require('child_process');
const crypto = require('crypto');

const app = express();
app.use(express.json());

const WEBHOOK_SECRET = process.env.WEBHOOK_SECRET;

app.post('/webhook', (req, res) => {
  // 驗證簽章
  const signature = req.headers['x-hub-signature-256'];
  const payload = JSON.stringify(req.body);
  const hmac = crypto.createHmac('sha256', WEBHOOK_SECRET);
  const digest = 'sha256=' + hmac.update(payload).digest('hex');

  if (signature !== digest) {
    return res.status(401).send('Invalid signature');
  }

  // 執行部署腳本
  exec('/var/www/deploy.sh', (error, stdout, stderr) => {
    if (error) {
      console.error(`Deployment failed: ${error}`);
      return res.status(500).send('Deployment failed');
    }
    console.log(stdout);
    res.send('Deployment triggered');
  });
});

app.listen(9000, () => {
  console.log('Webhook server running on port 9000');
});
管理多個 Deploy Key
當你有多個專案需要部署時,正確管理 Deploy Key 很重要。
SSH Config 範例
# Project A - Production
Host github-project-a
    HostName github.com
    User git
    IdentityFile ~/.ssh/deploy_key_project_a
    IdentitiesOnly yes

# Project B - Production
Host github-project-b
    HostName github.com
    User git
    IdentityFile ~/.ssh/deploy_key_project_b
    IdentitiesOnly yes

# Project A - Staging
Host github-project-a-staging
    HostName github.com
    User git
    IdentityFile ~/.ssh/deploy_key_project_a_staging
    IdentitiesOnly yes
金鑰命名慣例
建議使用有意義的命名:
~/.ssh/
├── deploy_key_projectname_environment
├── deploy_key_projectname_environment.pub
├── deploy_key_myapp_production
├── deploy_key_myapp_production.pub
├── deploy_key_myapp_staging
└── deploy_key_myapp_staging.pub
定期輪換金鑰
安全最佳實踐是定期更換 Deploy Key:
- 產生新的金鑰
- 將新公鑰加到 GitHub
- 更新伺服器的私鑰和 SSH Config
- 測試連線
- 刪除 GitHub 上的舊公鑰
常見問題排解
問題一:Permission denied (publickey)
可能原因:
- 私鑰權限不正確
- SSH Config 設定錯誤
- 使用了錯誤的 Host 名稱
解決方式:
# 檢查權限
ls -la ~/.ssh/deploy_key_*

# 修正權限
chmod 600 ~/.ssh/deploy_key_*

# 使用 verbose 模式除錯
ssh -vT github-myproject
問題二:Key is already in use
原因:同一個公鑰已經被加到其他 Repository。
解決方式:為每個 Repository 產生獨立的 Deploy Key。
問題三:Could not read from remote repository
可能原因:
- 使用了錯誤的 remote URL
- SSH Config 中的 Host 名稱不符
解決方式:
# 確認 remote URL
git remote -v

# 確認 SSH Config
cat ~/.ssh/config

# 確保 URL 中的 host 與 Config 一致
git remote set-url origin git@github-myproject:username/repo.git
問題四:Host key verification failed
原因:第一次連線到 GitHub,需要確認 host key。
解決方式:
# 手動確認
ssh -T [email protected]
# 輸入 yes 確認

# 或預先加入 known_hosts
ssh-keyscan github.com >> ~/.ssh/known_hosts
FAQ 常見問題
Q1: Deploy Key 和 Personal Access Token 哪個好?
| 面向 | Deploy Key | Personal Access Token |
|---|---|---|
| 安全性 | 較高(單一 Repo) | 較低(可能存取多 Repo) |
| 使用方式 | SSH | HTTPS |
| 適用場景 | 伺服器部署 | 臨時使用、API 存取 |
建議:伺服器部署用 Deploy Key,腳本臨時使用可用 PAT。
Q2: 一個 Repository 可以有多少個 Deploy Key?
GitHub 沒有明確限制,但建議每個部署環境一個 Key,方便管理與撤銷。
Q3: Deploy Key 過期嗎?
不會過期,但建議定期輪換(例如每年),降低長期暴露的風險。
Q4: 可以用 Deploy Key 存取 Private Submodule 嗎?
可以,但需要為每個 submodule 的 Repository 都設定 Deploy Key,並在 SSH Config 中正確配置。
Q5: GitHub App 和 Deploy Key 怎麼選?
- Deploy Key:單一 Repo、設定簡單
- GitHub App:多 Repo、組織管理、更細緻的權限控制
如果只需要存取一兩個 Repo,Deploy Key 足夠。
結語
這篇教學完整介紹了 GitHub Deploy Key 的設定與使用:
- 安全優勢:Deploy Key 只能存取單一 Repository,降低風險
- 金鑰產生:使用 ssh-keygen 產生 Ed25519 或 RSA 金鑰
- GitHub 設定:將公鑰加到 Repository 的 Deploy Keys
- SSH Config:設定伺服器使用正確的金鑰
- CI/CD 整合:在 GitHub Actions 中使用 Deploy Key
- 自動化部署:結合 Webhook 實現自動化
Deploy Key 是伺服器自動化部署的最佳實踐,既安全又易於管理。如果你的部署流程需要更進階的功能,可以接著閱讀 CI/CD 建置與部署流程。
🔐 部署設定需要協助?
從 SSH Key 到 CI/CD 整合,自動化部署有許多細節需要注意。
預約免費諮詢,讓 VibeFix 的工程師幫你建立安全可靠的部署流程!